
Console 120Hz Traps: Wrong Port, Wrong Mode, and Hidden Limits
If 120Hz feels the same as 60Hz, it’s often not enabled end-to-end. The usual causes are the wrong port, the wrong input mode, or settings that silently limit bandwidth.
The Common Traps
- HDMI port without full 120Hz support.
- Input mode not set for gaming / enhanced bandwidth.
- Display processing enabled that forces a lower mode.
- Wrong refresh selected on the console.
Quick Checklist
- Use the correct HDMI port (the one labeled for high bandwidth / gaming).
- Enable Game Mode on that specific input.
- Enable enhanced HDMI mode if the display has it.
- Verify the console is set to 120Hz and a supported resolution.
- Retest with the same scene and a stable cap.
Rule: 120Hz is a chain. One wrong link forces you back to 60Hz silently.
Related Guides
Game Mode ExplainedHidden latency trap.
Console vs PC Display SetupBaseline checks.
VRR Setup GuideVRR depends on correct refresh.
HDMI Black Level / RGB RangeFix mismatch before judging quality.
Related Articles
End-to-End Feel Diagnosis: A Simple Flow That Finds the Real Cause
Stop guessing. Use this end-to-end flow to diagnose bad feel: display mode, timing, input queue, audio chain, and network load — in the right order.
Shader Cache Reality: What It Fixes, What It Doesn’t, and Why Stutter Returns
Shader cache can reduce repeated compilation stutter, but it won’t fix CPU spikes or streaming hitches. Learn what it really does and how to test properly.
Shader Stutter: Why First Runs Hitch and How to Reduce It
Shader stutter happens when new effects compile in real time. Learn how to identify it fast and the practical ways to reduce hitches without placebo tweaks.
Audio Chain for Gaming: One Clean Path from Game to Ears
Audio positioning improves when the chain is clean and stable. Build one path: one device, one mode, minimal processing, consistent levels.
Router Checklist for Gaming: The 10 Settings That Prevent Spikes
Most routers can game well if you remove the spike generators. Use this simple checklist: queue management, sane Wi-Fi, and stable load behavior.
Stutter Fixes That Stick: The Stability-First Playbook
Most stutter fixes fail because they skip triage. Use this playbook: identify stutter type, stabilize pacing, reduce spikes, then tune visuals last.
Exclusive Mode Myths: When It Helps Audio (Rare) and When It Breaks Games
Exclusive mode can reduce OS mixing, but it often creates conflicts and instability. Use it only when it improves consistency, not because it sounds ‘pro’.
HDR Calibration Pitfalls: Why HDR Looks Dim or Washed Out
HDR looks bad when the baseline is wrong: mode mismatch, skipped calibration, dynamic processing, or wrong black/white levels. Fix the pitfalls in order.
HDMI Black Level and RGB Range: The Quick Fix for Washed Out or Crushed Images
Washed out blacks or crushed shadow detail is often a range mismatch, not a bad screen. Use this quick check to fix readability in minutes.
Streaming Stutter: Storage, Decompression, and the Hitch Pattern
Streaming stutter is asset loading: new areas, new textures, periodic hitches. Learn the pattern, what to change first, and what upgrades actually help.
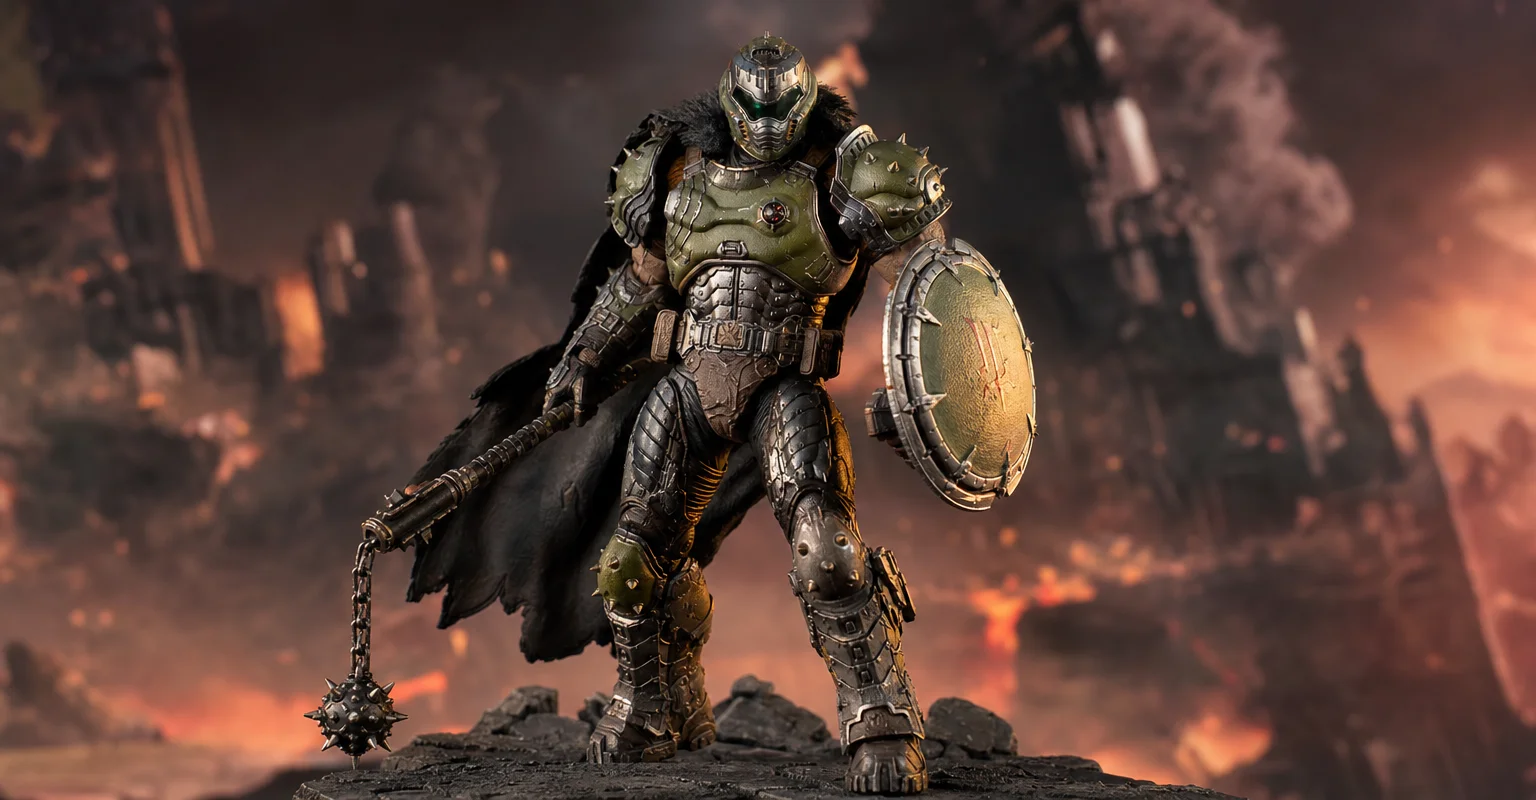
Pre-Order Alert: Good Smile Company Figma Doom: The Dark Ages – Doom Slayer DX Edition
The new Good Smile Company Figma Doom: The Dark Ages Doom Slayer DX Edition is more than a routine figure drop. It connects collector demand, franchise identity, and the wider appeal of Doom as one of gaming’s most durable icons.
Controller Wired vs Wireless: Latency, Stability, and the Real Tradeoff
Wired is not always faster, but it is often more stable. Learn what actually changes with wired vs wireless controllers and how to choose the setup with consistent feel.